Created a notepad file and typed in the opening credits
for the film. I then imported them into my bin which I labelled “Text”.
I then created a title clip using a rolling crawl and
changed the font to Quartz MS to give the text a futuristic look.
By changing the settings I was able to make the credits
roll in slower and I changed the settings so it would blend in and out.
The introduction music was too loud so I used the music
settings to alter the volume using the master control buttons. I was also able
to mark in and out the length of the audio and find the music I needed. I used
the audio effects to add a phaser sound throughout the audio clip so make it
sound futuristic.
I also used the audio transitions crossfade with constant
power at the start of the clip.
I used the source video I had imported of James Bond to
extract and make clips of the audio. This way I was able to isolate and remove
some of the background noise and I didn’t want the video as I was going to add
some different images using the audio of his voice.
I started by making in the part I wanted and then marking
it out and dragging just the audio to my audio clips. I labelled each clip with
the words he used.
This way I could remember what the audio was saying just
by looking at the label.
I applied transitions to the introduction using the pen
tool to have a continual gain using the audio effects.
Once I was happy with the sound I started to work on the
images.
I imported more videos containing the bits I wanted into
my video and also imported an AI logo that I had created and place that in the
text file.
I applied a light flare which I made travel over the star
using the solarize settings and making them go lower over time.
I created a dissolving transition between the shuttle
opening and the logo so they would blend in and out so the images fade into one
and other.
I noticed the source video didn’t fill the screen and had
black borders so I right clicked the clip and highlighted “scale to frame” so
the image would fill the screen.
I wanted the credits to roll over an image as they were
first rolling over a black screen so I moved them to the start of the planet
scroll image applying a gradual image blend in.
As the planets spin, the text gradually crawls over the
screen.
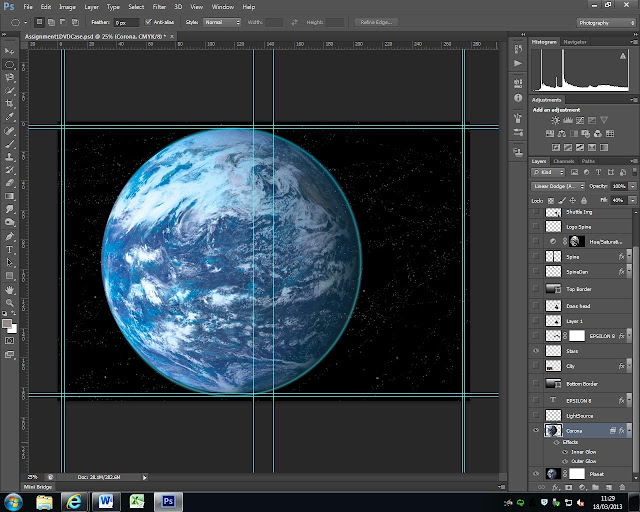
I imported an Image I had created in PSD and applied
transitions so it would appear after the credits and also added some
highlighted effects to make the image look shiny and have a light source going
over it.
I have used motion effects, solarize and a fast blur
which create the feel of light on metal.
The effect is gradually faded out to nothing and you can
see Lance in the background. I wanted there to be a ‘cut’ between Lance moving
so left the screen with no effects, just spaced the images out.
The original clip of Daniel had black borders so I
changed the frame size
Applying the scale in this way by unchecking the uniform
scale button and moving the heights and width to percentages of about 150 makes
his whole head fits the screen.
The magazine in gun scene was at night time so I applied
effects to Daniel coming in through the door to make it appear that it was also
happening at night.
I also had to enlarge the frame to match the other video
so he would fill the screen.
Towards the end I cut the audio from the introduction sound
clip using the razor tool and raised the audio for the silhouette scene while
applying more volume to the voices.
I applied an end credit using the title header and made
it fade in and out of the screen. I used the same quartz ms text and changed
the opacity adding a sheen and using the fill type button.
This is a list of the websites I have used to create this short video.
http://www.youtube.com/watch?v=GrlUWh2ZlHo&list=PL6A59016BBF1579AA
http://archive.org/details/movies
http://creativecommons.org/video/
http://mirrors.creativecommons.org/
http://vimeo.com/creativecommons
http://bit.ly/dismovies1
Music:
http://www.youtube.com/watch?v=eu-zFxiGyQM relativity media clip
pg intro


